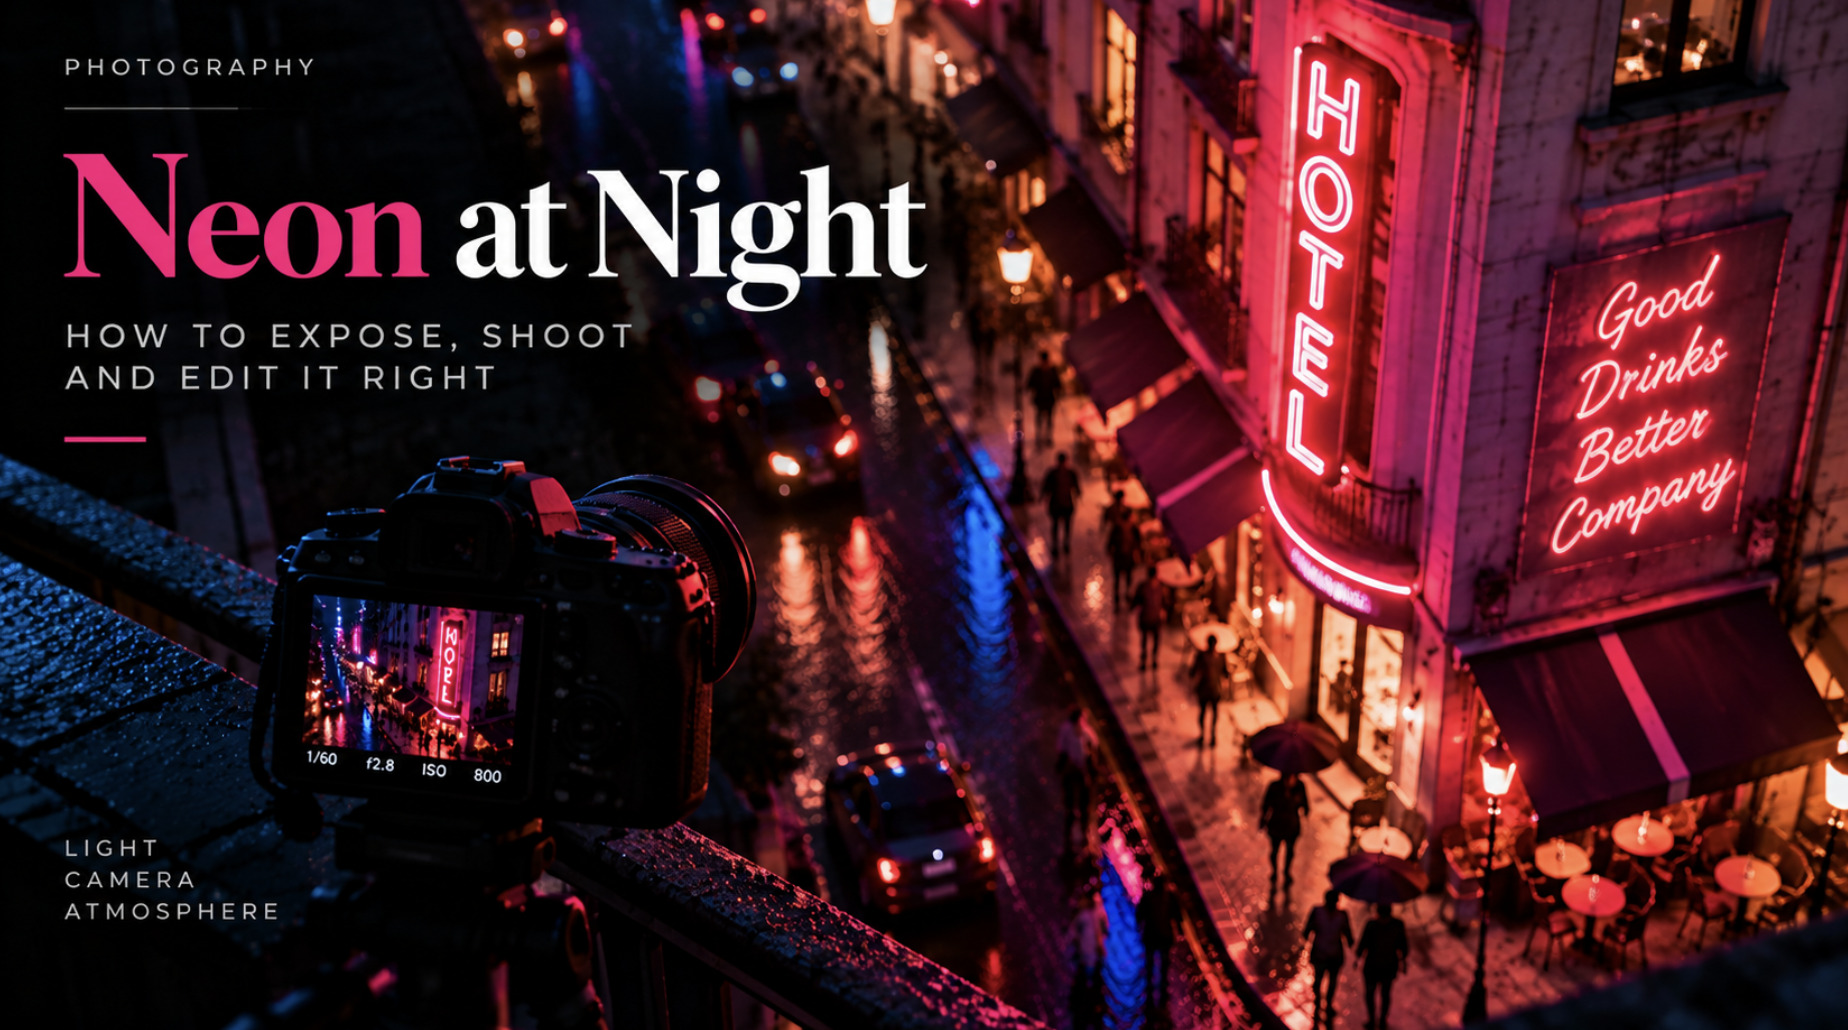
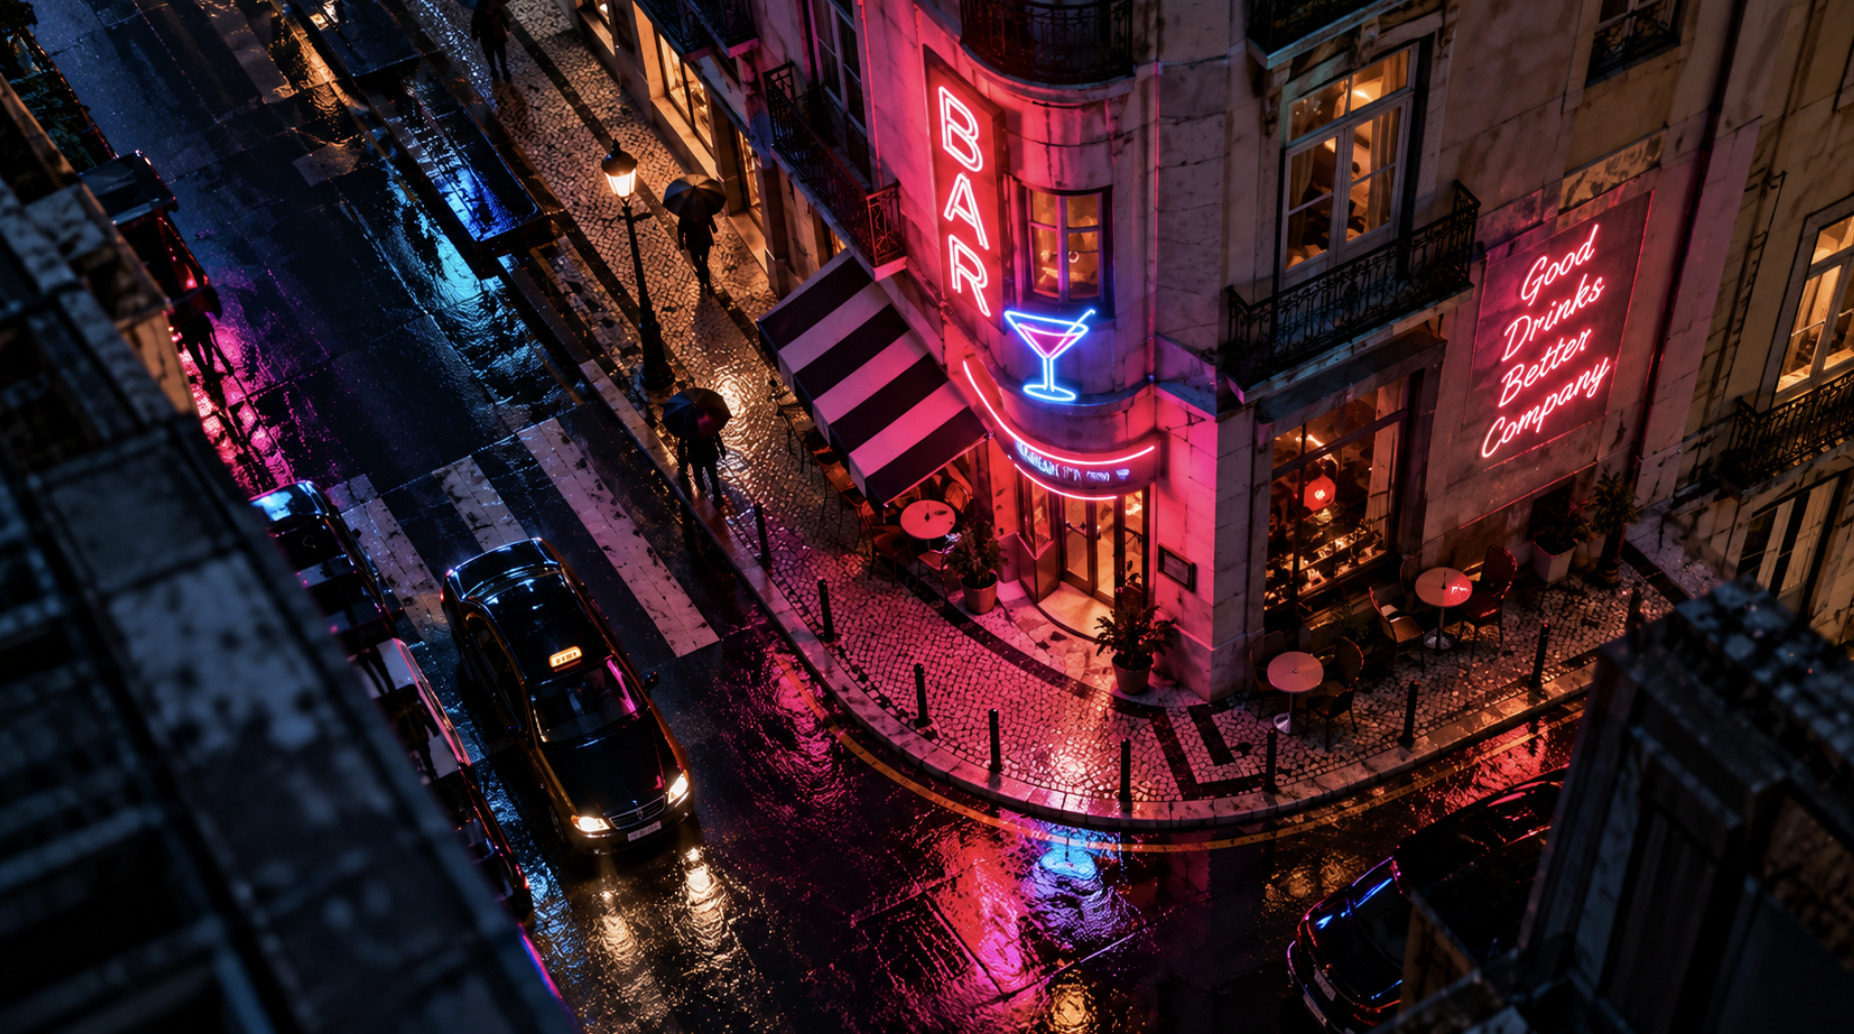
Neon punishes bad exposure decisions faster than almost any other subject. Point a camera at a sunset and you have a wide margin for error — the light is soft, the dynamic range is forgiving, and a stop of overexposure rarely ruins the shot. Point the same camera at a magenta sign glowing against a dark storefront, and that same margin collapses to almost nothing. The sign is often five or six stops brighter than the street around it, and most cameras' metering systems, left to their own devices, will either blow the neon into a shapeless white blob or crush the surrounding street into featureless black trying to compensate.
Understanding why this happens — and what to do about it before and after the shutter fires — is the difference between a neon photograph that looks like a photograph and one that looks like a phone snapshot with the saturation slider dragged too far right.
Why Neon Is Genuinely Difficult to Expose Correctly
The core problem is dynamic range, and neon creates an unusually extreme version of it. A neon tube is a small, self-illuminating light source, often only a few millimeters wide, radiating at an intensity that can clip a sensor's highlight channel almost instantly. Meanwhile, everything a few feet away from that tube — brick, pavement, a parked car — is receiving almost none of that light directly and sits deep in the shadow end of the histogram.
Camera metering systems are built around averaging a scene toward middle gray, and a neon-lit street is about as far from an "average" scene as exists. Evaluative or matrix metering will often read the large dark areas of the frame and push exposure up to compensate, which is exactly the wrong direction — it brightens the shadows a little but blows the neon completely, since highlight clipping happens well before the midtones look properly exposed. This is why neon photography almost always benefits from spot metering directly on the brightest part of the sign, or from ignoring the meter's suggestion entirely and working from the histogram instead.
There's also a color-specific version of this problem. Neon signage frequently uses saturated red, magenta and cyan — colors that clip on individual channels well before the overall exposure looks blown on a standard brightness histogram. A sign can look "properly exposed" in a JPEG preview while the red channel alone is already flat-lined at 255, which shows up later as a hard, plasticky edge around the tube with no color gradation left to recover.
Protecting Highlights Around Bright Signs
The practical fix starts with reading the RGB histogram, not just the luminance histogram most cameras show by default. Many mirrorless cameras and even some phone camera apps (in pro or manual modes) let you switch to a per-channel view — checking this before you shoot tells you whether the red or blue channel is already clipping even when the overall exposure looks fine.
Highlight-weighted metering, where available, is built for exactly this scenario: it biases the exposure calculation toward preserving the brightest areas of the frame rather than the average. On cameras without a dedicated highlight-weighted mode, spot metering on the neon tube itself and then applying -1 to -2 stops of exposure compensation achieves something similar — you're deliberately underexposing relative to what the meter would otherwise suggest, because you're prioritizing the part of the scene most prone to irrecoverable clipping.
Choosing ISO Shutter Speed and Aperture for Neon Scenes
There's no single "correct" setting because ambient light levels around neon vary enormously between a busy nightlife strip and a single quiet sign on an empty street, but the priorities stay consistent.
Shutter speed should be handheld-safe unless you're using a tripod — a rough rule is to keep shutter speed at or above the reciprocal of your focal length (1/50s for a 50mm lens, for example) to avoid motion blur from hand shake, though image stabilization in modern cameras and phones extends this considerably.
Aperture wide open (f/1.8–f/2.8 on a fast prime) gathers more light and lets you keep shutter speed and ISO more conservative, but a very wide aperture on a scene with multiple signs at different distances will throw some of them out of focus. Stopping down to f/4–f/5.6 for a street scene with several illuminated signs at varying depths is often a better trade, provided you can still keep the shutter speed and ISO within a usable range.
ISO should be treated as the last variable you raise, not the first. Push it as high as your camera's noise performance tolerates before resorting to a slower shutter speed that risks blur, but don't default to a high ISO out of convenience — every stop of ISO you avoid is real, recoverable detail you keep in the shadows.
When to Deliberately Underexpose
Counterintuitively, many strong neon photographs are shot one to two stops under what a standard meter reading would suggest. Underexposing protects the neon's color information — since a slightly dark exposure with intact color channels is trivial to brighten in post, while a blown highlight with clipped channels contains no color data to recover, full stop.
This also serves the mood of the image. Neon photography that reads as atmospheric rather than flat almost always has genuine black or near-black shadow areas in the frame — the contrast between rich shadow and glowing color is what makes the light itself feel luminous rather than just bright. Exposing "correctly" by traditional standards, to make the shadows fully visible, frequently produces a flatter, less convincing result than an intentionally darker exposure that lets the neon do the visual work.
RAW Versus JPEG for Night Photography
RAW is close to non-negotiable for serious neon work, and the reason is specifically about the clipped-channel problem described above. A JPEG applies in-camera processing and compression before you ever see the file, discarding highlight and color data the camera's software decided wasn't needed. If a channel is close to clipping, that decision is effectively made for you, permanently, at the moment of capture.
A RAW file retains substantially more highlight and shadow information because it stores the sensor's data before that lossy processing happens. On a neon shot where the meter reading was slightly optimistic, RAW frequently allows recovery of a stop or more of highlight detail that a JPEG of the same exposure would have already discarded. On phones, this means shooting in ProRAW (iPhone) or RAW/DNG mode (Android) rather than the default camera app's processed output whenever the scene has this kind of extreme local contrast.
White Balance Under Mixed Artificial Lighting
Neon scenes are rarely lit by a single color temperature. A street might have warm tungsten storefront lighting, cool blue-white LED signage, and magenta or red neon all within the same frame, and no single white balance setting will render all three "correctly" — because there is no single correct answer when the ambient light itself is mixed.
The practical approach is to stop treating white balance as a technical correction and start treating it as a creative decision. Setting a fixed Kelvin value (rather than leaving the camera on auto white balance) prevents the camera from hunting and shifting color between frames of the same scene, which is a common frustration when reviewing a sequence of shots taken seconds apart under flickering or mixed lighting. Shooting RAW makes this decision non-destructive — white balance can be adjusted after the fact without any quality loss, so it's reasonable to pick a fixed value in-camera that's close enough and refine it later.
Preserving Saturated Colors Without Clipping the Channels
The temptation with neon is to boost saturation in post to make the colors pop further, but this is usually the wrong direction if the channels are already near their limit. Pushing saturation on a color that's already close to clipping doesn't add vibrancy — it pushes the channel into a hard clip, destroying the subtle gradation at the edge of the light source that made it look like glowing neon rather than a flat colored shape.
A more reliable approach is working in a RAW editor's HSL panel to adjust luminance down slightly on the specific hue range that's clipping (reds and magentas are the most common offenders in neon work), which recovers gradation in the transition zone around the tube without touching overall saturation. This preserves the sense that light is actually radiating from the sign, rather than the sign being a solid-colored cutout pasted into the frame.
Autofocus Problems in Low Light
Autofocus systems hunt in low light because contrast-detection and even most phase-detection systems rely on finding edge contrast to lock focus, and a scene dominated by a single bright point against deep shadow gives the autofocus very little to work with — it may lock onto the neon tube itself, or it may hunt indefinitely trying to find contrast in the dark surrounding areas.
Switching to manual focus, or using a single, small autofocus point placed directly on the edge of the sign (rather than a wide or automatic area mode), gives the system a defined contrast edge to lock onto instead of asking it to guess across the whole frame. On phones, tapping directly on the neon element in the viewfinder before shooting achieves the same result — it forces focus and often exposure metering to prioritize that specific point rather than the frame average.
Handling Reflections From Glass Wet Streets and Polished Surfaces
Wet pavement, storefront glass and polished metal all multiply neon's presence in a frame by reflecting it, and this can be an asset or a liability depending on control. An uncontrolled reflection in glass often includes your own silhouette, unrelated background elements, or a second, dimmer copy of the sign that competes for attention with the primary subject.
A polarizing filter, generally associated with daytime landscape work, has a specific and useful role here too — it can cut reflections on glass and wet surfaces selectively, though at night with limited light, the roughly 1-2 stop light loss a polarizer introduces needs to be accounted for in your exposure. When reflections are the point of the shot (wet-street shots specifically rely on them for a doubled, more cinematic composition) shooting immediately after rain, when the street surface is genuinely wet rather than merely damp, produces a noticeably cleaner and more continuous reflection than shooting on a dry surface with only scattered puddles.
Shooting Nightlife Interiors
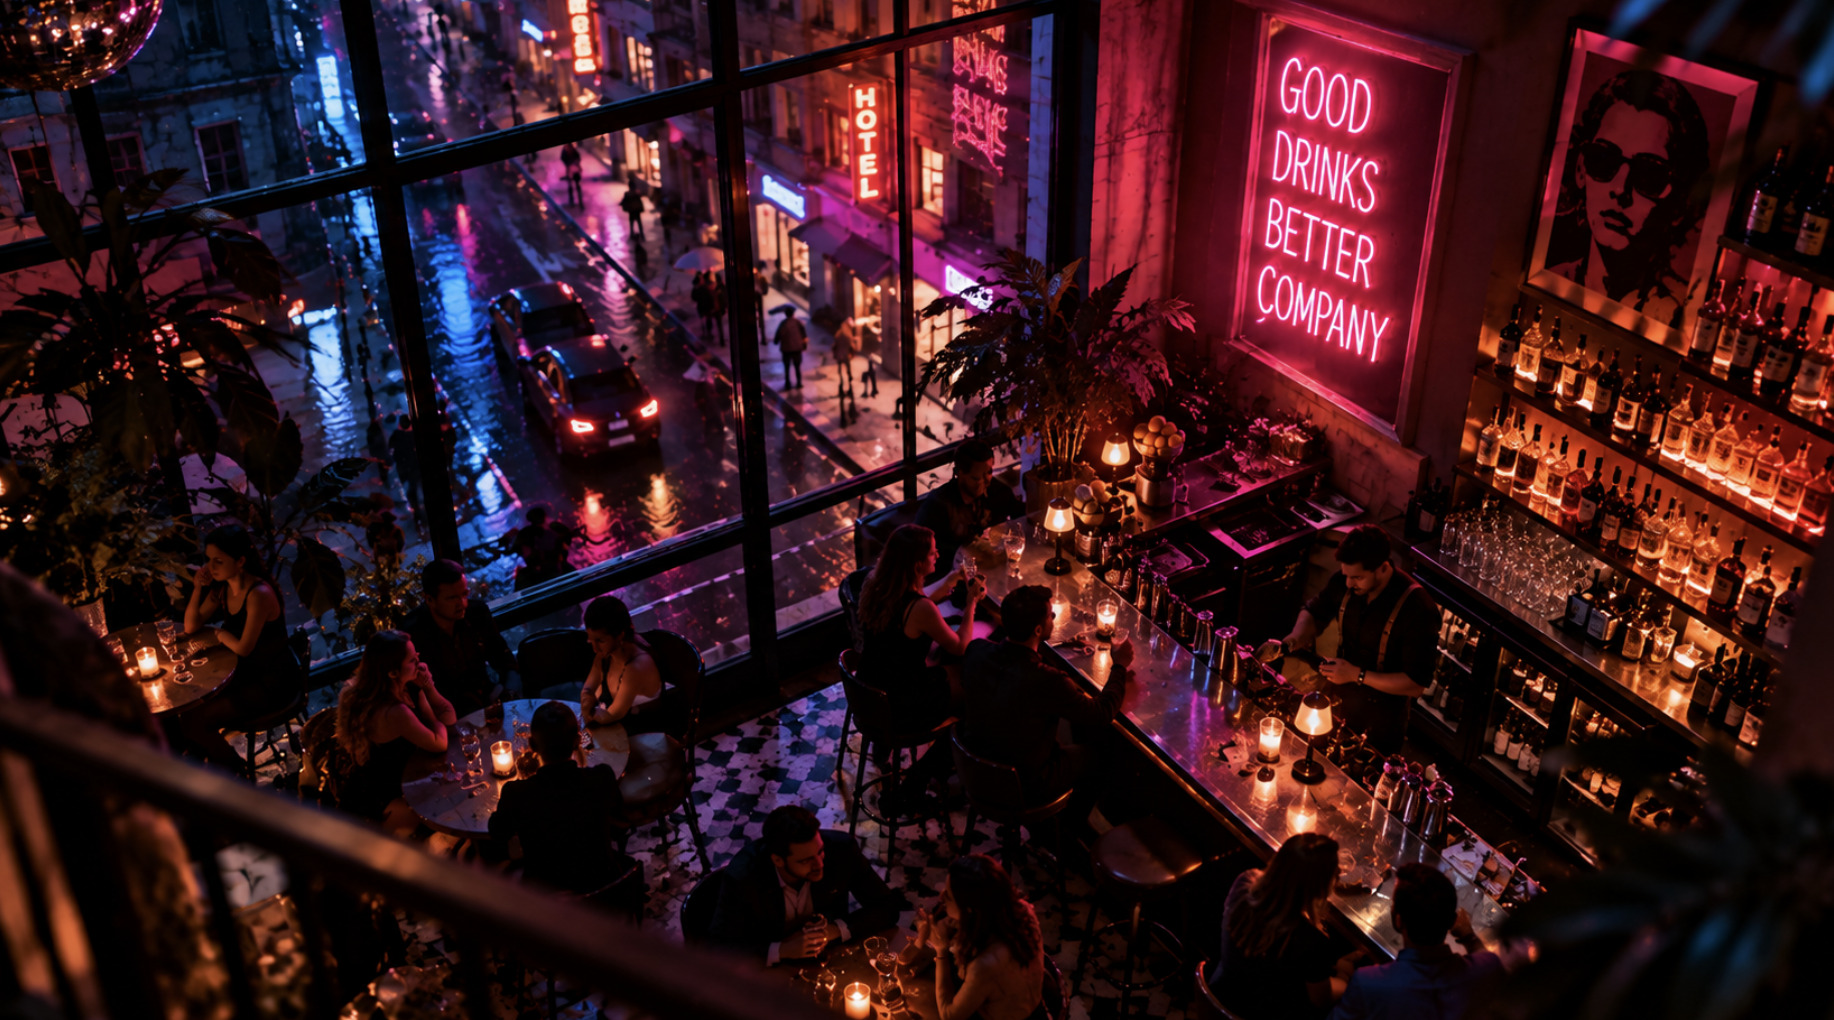
Interiors add a layer of complexity beyond street neon: mixed color temperatures from multiple fixture types, moving subjects, and often much lower overall ambient light than an exterior street scene with signage. Handheld shooting at very low shutter speeds becomes the norm here, which pushes ISO up and increases the importance of a fast aperture lens.
Before a shoot like this, it's genuinely useful to study how other photographers, filmmakers and designers have handled saturated, high-contrast interior lighting — cinema stills are an obvious reference for color grading and visual hierarchy, but venue photography and even the interface design of brightly lit entertainment platforms can be instructive, since they're built by designers who think constantly about how to draw the eye through a busy, saturated field of color. A quick visual survey of something like the Crazytower site, alongside architectural lighting photography or film stills, can clarify how contrast and color hierarchy guide attention in a scene dominated by artificial light — the goal isn't to copy any one source, but to notice recurring patterns in how bright, saturated elements are balanced against darker negative space.
Handheld Shooting Versus Using a Tripod
A tripod removes the shutter-speed constraint entirely, letting you shoot at ISO 100 with a multi-second exposure and get essentially noise-free files even in near-darkness. The trade-off is obvious: tripods are impractical in crowded nightlife environments, slow down a shoot considerably, and turn a spontaneous street shot into a setup shot.
Handheld work at night is a deliberate trade of some noise and a slightly higher minimum shutter speed for mobility and spontaneity, and for most street-level neon photography — where the appeal is candid movement and life in the frame — that trade is usually worth making. Reserve the tripod for static architectural neon subjects or long-exposure light-trail work, where the extended exposure time is itself part of the creative intent rather than a compromise.
Controlling Digital Noise
Noise in night shots comes from two compounding sources: high ISO amplifying sensor read noise, and underexposure in the shadow areas that then gets brightened in post, which amplifies whatever noise was already present in that data. This is why "expose to protect the highlights" and "control noise" can pull in slightly different directions, and why the balance matters — an exposure that's too conservative pushes noise problems into the shadows during editing, while one that's too bright clips the neon you were trying to preserve in the first place.
In editing, applying noise reduction selectively — heavier on shadow areas, lighter or none on the neon itself — avoids the common mistake of softening the entire image uniformly, which blurs the crisp edge of the light source along with the noise in the dark areas around it.
Editing Shadows Without Destroying the Atmosphere
Lifting shadows in post is often necessary since night shots are frequently underexposed by design, but lifting them too far flattens the exact contrast that made the shot feel like nighttime. A shadow lift that reveals detail while keeping the darkest values genuinely dark — rather than pulling everything toward middle gray — preserves the sense of a light source cutting through real darkness rather than an evenly lit scene that happens to be dim.
Working with a tone curve rather than a single shadows slider gives more control here: lifting the lower-midtone region while leaving the true blacks anchored keeps detail recoverable without eliminating the deep shadow that gives neon its visual contrast.
Recovering Highlights and Avoiding Excessive Saturation
Highlight recovery in a RAW editor works by reconstructing detail from channels that haven't fully clipped, which is why the channel-level exposure protection covered earlier directly determines how much recovery is even possible — a fully clipped channel has nothing left to reconstruct, regardless of how good the software is.
On saturation specifically, the most common editing mistake in neon photography is treating "more vibrant" as an unambiguous improvement. Real neon has soft falloff and glow around the tube itself; cranking global saturation tends to harden that falloff into a flat color block, which reads as artificial rather than luminous. Working locally — increasing vibrance selectively on desaturated midtone areas while leaving the already-saturated neon core alone — usually produces a more convincing result than a global saturation push.
Maintaining Realistic Skin Tones Around Colored Lighting
When people are in the frame under neon or colored venue lighting, skin tones pick up strong color casts from whatever light is dominant, and correcting this fully back to "neutral" skin tone often looks wrong, because it fights the actual lighting condition the photo was taken in. A more effective approach is partial correction — pulling skin tones back toward something plausible without eliminating the color cast entirely, since a small amount of ambient color on skin is what makes the lighting environment read as real rather than corrected in post.
Creating a Cinematic Look Without Overprocessing
The photographs that read as cinematic rather than over-edited tend to share a specific restraint: contrast is used deliberately rather than maximized, color grading shifts shadows and highlights in complementary directions rather than pushing every tone toward the same saturated hue, and grain or noise is left visible rather than eliminated, since a small amount of texture reads as intentional rather than as a flaw. Overprocessing usually shows up as uniformly high saturation, crushed blacks with no shadow detail at all, and halos around bright edges from oversharpening — all signs that the edit prioritized immediate impact over the kind of controlled contrast that makes a night photograph hold up on a second look.