From Capture to Finished Image: Building a Consistent Mobile Editing Workflow
The best photographers you follow on the internet have something in common that their caption copy rarely admits: they have a workflow. Not just a style — a process. A repeatable sequence of decisions that transforms a raw capture into a finished, publishable image in the least amount of time with the most consistent results. Their gallery looks cohesive not by accident but because they have built and refined a system that produces cohesion on demand.
For most of photography's digital history, that system required a desktop. Lightroom on a large monitor, a calibrated display, a keyboard with shortcuts memorized to muscle memory. But the quality of smartphone cameras has advanced to the point where the question is no longer whether mobile editing can produce professional results — it demonstrably can — but how to build a mobile workflow that is as intentional and reliable as any desktop process.
This guide is about building that workflow.
Why Workflow Matters More Than Any Single Tool
Before we get into specifics, it is worth understanding why workflow matters at all. Why not simply open each photo, adjust until it looks good, and move on?
The problem with that approach is that it produces inconsistent results that cost you far more time than a structured process would. When you edit without a system, every image is a fresh problem to solve from scratch. You make different decisions about exposure, color temperature, and contrast on different days depending on your mood, the ambient light in the room where you are editing, how tired you are, and what you looked at before opening the photo. The result is a body of work that does not hold together visually, and a process that never gets faster because you are never learning from repetition.
A workflow solves these problems. It gives you a consistent starting point for every image. It creates a sequence of decisions that you can perform reliably. And over time, it builds a form of muscle memory — not physical, but perceptual — that makes each individual decision faster and more confident.
Step One: Cull Before You Edit
The first step of a strong mobile workflow happens before you open an editing app at all. It is the cull: the process of deciding which images are worth editing.
Most photographers undervalue this step. They edit everything and let the editing process serve as the selection process. This is inefficient and counterproductive. Editing a mediocre image does not make it good — it makes it a mediocre image that you have invested time in, which makes it psychologically harder to discard later.
Cull with intention. Go through your captures and make a binary decision for each: does this image have something worth preserving? Not: is this image perfect? Not: could editing fix the problems? But: is there a moment here, a quality of light, a compositional relationship, a subject expression that justifies the time investment? If yes, flag it for editing. If no, leave it.
The goal is to arrive at your editing session with a set of images that have already earned your time. Everything from here forward should feel worthwhile.
Step Two: Establish Your Exposure Foundation
Every editing session should begin with the same question: is the exposure foundation right? This means looking at the overall brightness of the image, the distribution of tones across the histogram, and whether the important information in the frame — faces, textures, key details — is visible and properly placed in the tonal range.
Exposure correction is the one area where you should be comfortable making large adjustments. A photo that is significantly underexposed or overexposed needs meaningful correction, and that correction should happen first, before any other adjustment, because virtually every other decision you make will be influenced by the brightness of the image.
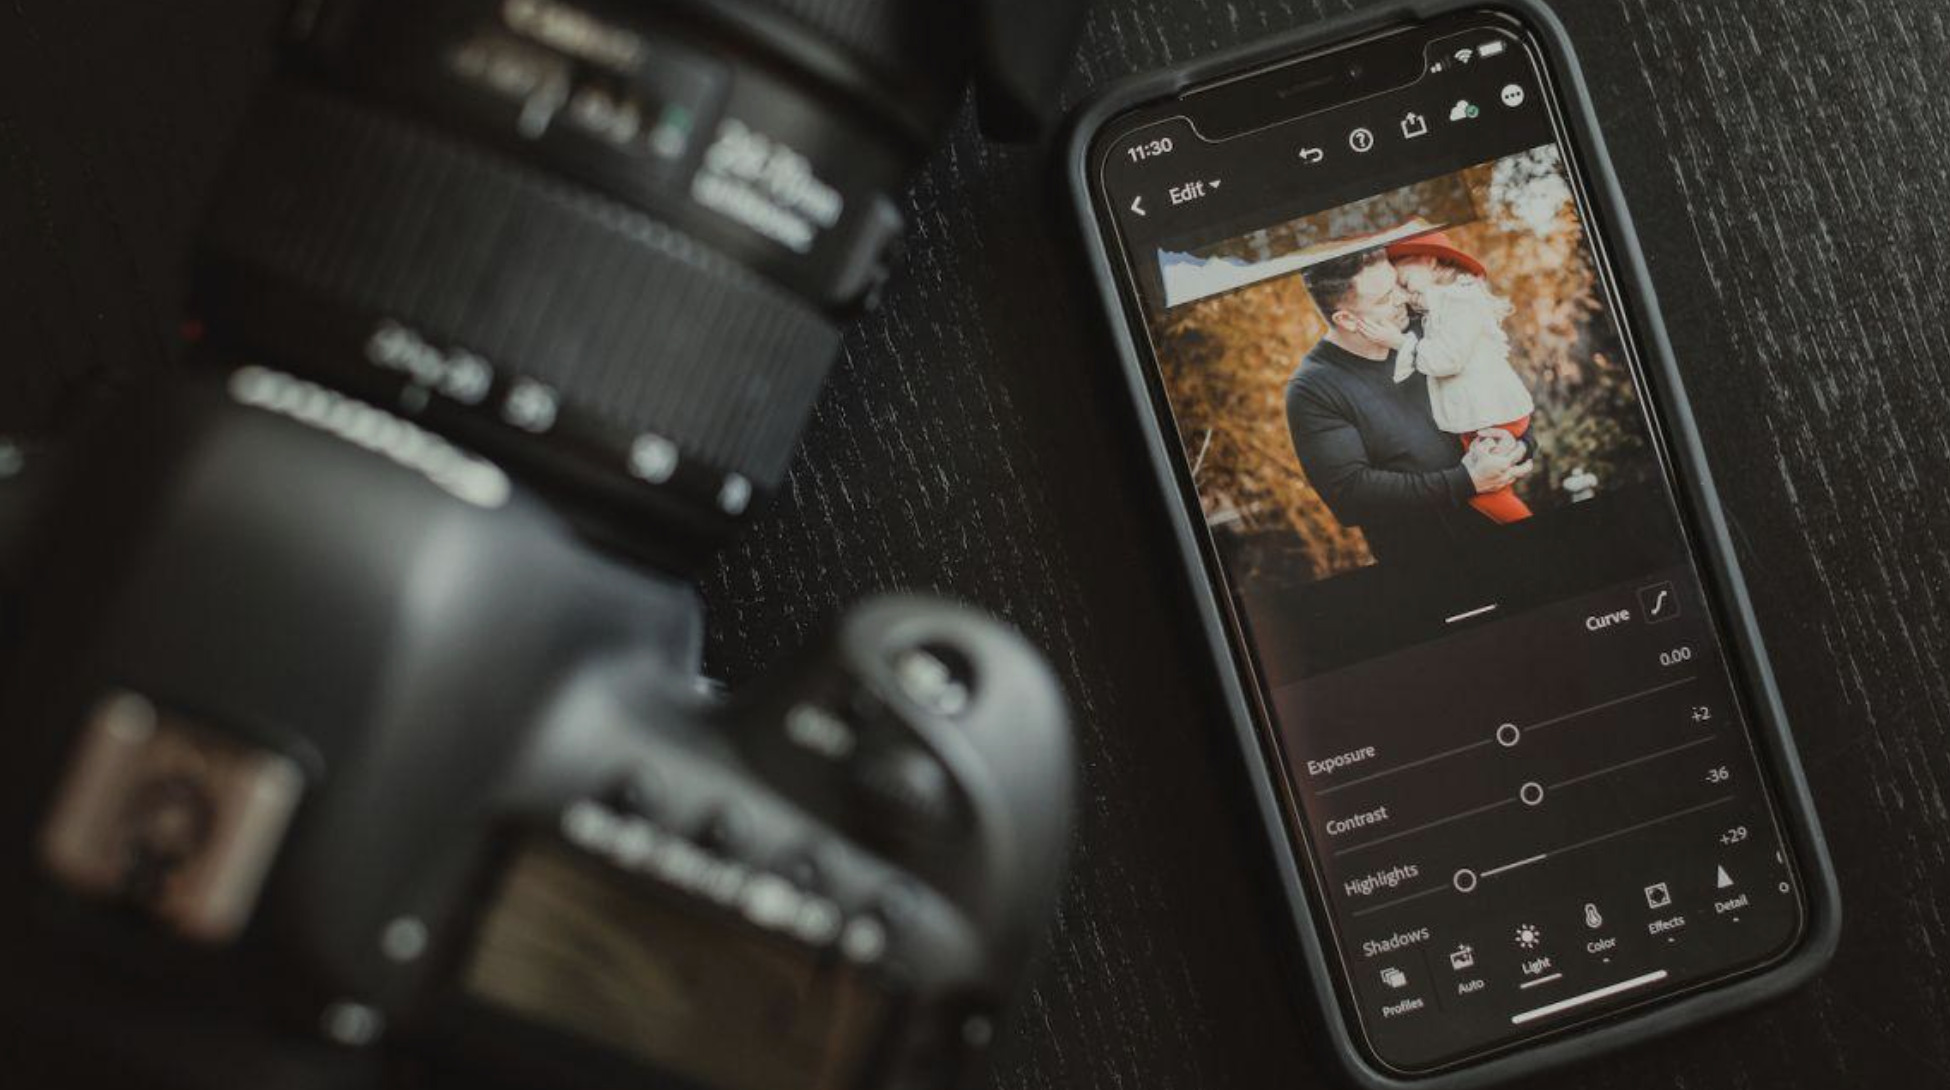
On mobile, the tools for this are typically exposure (overall brightness), highlights (the brightest areas of the image), and shadows (the darker areas). Work methodically: set the overall exposure so the mid-tones look right, then use highlights to pull back any areas that are clipping or losing detail in brightness, then lift or lower shadows depending on how much information you want to retain in the darker parts of the frame.
Do not move on to color until the tonal foundation feels solid. This is a discipline that separates fast, effective editors from slow, uncertain ones.
Step Three: Work with a Starting Style, Not From Scratch
Here is where the workflow becomes dramatically more efficient: instead of building your color grade from zero for every image, start with a crafted style that embodies the visual direction you want for your work, then adjust from there to suit the specific image.
This is the correct use of presets, styles, and filters — not as a one-click final answer, but as a calibrated starting point. A style built by a working photographer encodes specific decisions about color temperature, tonal curve, saturation levels, and contrast distribution. When you apply it to your image, you are not randomizing the edit — you are beginning with an informed visual opinion and then tuning it to the particular photograph in front of you.
The tuning is what separates the great edits from the adequate ones. After applying your starting style, look critically at three things: how the skin tones are behaving (if there are people in the frame), how the highlights are rendering, and whether the shadows feel right for the mood of the image. These are the areas most likely to need individual attention because they are most sensitive to the specific lighting conditions of the original capture.
Intelligent style suggestion systems enhance this further by reading the content of the image before making a recommendation — recognizing whether you are looking at a portrait, a landscape, an urban scene, or a food photograph, and surfacing styles that have historically worked well for that subject type and tonal profile. The result is that your starting point is not just a style you like in general, but a style that is likely to suit this specific image.
Step Four: Fine-Tune with Purpose
After your starting style is applied and your major exposure work is done, you enter the fine-tuning phase. This is where photographers either sharpen their results or dilute them.
Fine-tuning with purpose means asking a specific question before each adjustment: what exactly am I trying to change, and why? Not "let me see what more clarity does" but "the texture in this stone wall is not reading clearly enough — I want to increase local contrast in the mid-tones to bring it forward." The former is experimentation. The latter is editing.
The HSL (Hue, Saturation, Luminance) panel is where fine-tuning delivers the most nuanced results on mobile. Rather than adjusting overall saturation — which lifts every color equally and almost always produces an unnatural result — use HSL to work with individual color channels. If the sky looks slightly too cyan, pull the aqua hue toward blue. If the grass looks too yellow-green, shift the green channel toward a richer tone. These targeted adjustments are invisible in the sense that viewers will not notice them — they will simply feel that the image looks right.
Step Five: Build Consistency Across a Set
If you are editing a series of images from the same session — a portrait shoot, a travel day, a specific event — your final task is to create visual consistency across the set. This means looking at the images together rather than individually and identifying anything that feels out of family.
The most common consistency issues are white balance drift (where different photos from the same session feel warmer or cooler relative to each other), exposure inconsistency (where the overall brightness level varies noticeably), and contrast variation (where some images feel punchier than others). Addressing these is largely a matter of applying the same style settings as a foundation and then doing targeted corrections to individual images that deviate, rather than starting fresh for each.
A well-edited set from a single session should feel like it was shot on the same day in the same light — because it was — and edited with the same voice. That coherence is what makes a portfolio feel intentional rather than accidental.
The Goal: An Invisible Process, a Visible Voice
The ultimate ambition of a strong editing workflow is that the process itself becomes invisible, leaving only the result visible. When your workflow is dialed in, you stop thinking about the sequence of steps and start thinking only about the photographs. The decisions become intuitive. The editing feels like a natural extension of the shooting, not a separate technical exercise.
That is when your editing voice begins to emerge — not from forcing a look onto every image, but from responding honestly and consistently to each photograph with a set of tools and instincts you have genuinely made your own.
Build the system. Trust the process. Then forget about both, and make photographs.