
Most photography is about capturing light as it falls on a subject. Neon photography is different: the light is the subject. A glowing sign, a strip of coloured tubing, a wall of electric branding against a black night sky — these are scenes where the source of illumination is the thing you are trying to render, and that inversion changes almost everything about how you shoot. Neon at night is one of the most rewarding subjects a photographer can chase and one of the most technically unforgiving, because the very quality that makes it beautiful — intense, saturated light surrounded by darkness — is exactly what confuses a camera. This is a practical guide to photographing neon and glowing signage after dark, and to capturing light itself rather than merely recording it.
Why neon breaks your camera's brain
The first thing to understand is why neon is so hard, because the difficulty is not a skill problem — it is a metering problem baked into how cameras work. A camera's light meter tries to average a scene toward a neutral middle brightness. Point it at a small, blazing neon sign surrounded by a large expanse of dark night, and the meter panics: it sees mostly darkness, decides the scene is underexposed, and brightens everything to compensate. The result is a blown-out, glowing blob where the sign used to be, its colours washed to white and all the fine detail in the tubing lost.
This is the central challenge, and naming it points straight at the solution. Because the camera will consistently try to overexpose a neon scene, the photographer's job is to deliberately override that instinct and expose for the neon itself, letting the surrounding darkness stay dark. You are not trying to reveal the shadows; you are trying to protect the highlights — the glowing colour that is the entire point of the image. Almost every technique that follows is, at heart, a way of telling the camera to stop brightening and trust the dark.
Expose for the glow, not the scene
In practice, protecting the neon means taking control of exposure rather than trusting automatic mode. The reliable approach is to deliberately underexpose relative to what the camera wants — dialling in negative exposure compensation, or shooting in manual and setting an exposure that keeps the bright neon rich and saturated rather than blown out. It feels counterintuitive to make an already-dark scene darker, but that is exactly what preserves the colour and detail in the light source. A slightly underexposed neon sign holds its deep, glowing hues; a "correctly" exposed one according to the meter is usually ruined.
The tools you have for this are the familiar exposure triangle, used with intent. A low ISO keeps the image clean, which matters because night shots are prone to noise and neon's smooth colour shows grain badly. A narrower aperture can hold more of the scene sharp and even turn point lights into attractive starbursts, though it costs you light. And shutter speed becomes your main lever for controlling how much of the surrounding darkness registers. The key mental shift is that you are setting exposure to render the light source beautifully, not to produce an evenly-lit scene — because an evenly-lit neon photo is a failed neon photo.
White balance is a creative decision here
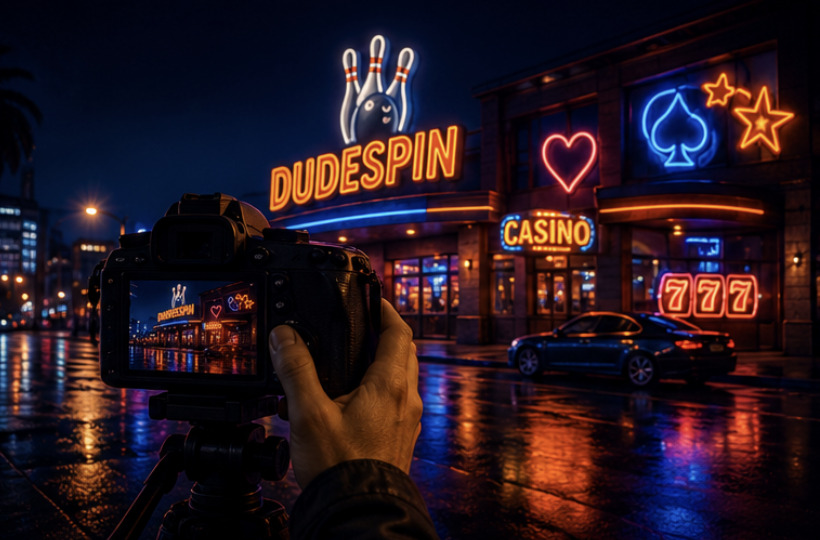
Neon does something strange to colour, and this is where many otherwise-competent night photos go wrong. Different neon and LED signage emits wildly different colour temperatures, and if you leave the camera on automatic white balance, it will try to "correct" those colours toward neutral — draining exactly the vivid, unnatural, electric hues that made you want to photograph the scene in the first place. Auto white balance is trying to be helpful and is actively working against you.
The fix is to treat white balance as a creative control rather than a technical one. Shooting in RAW is close to essential, because it lets you set colour temperature afterward without any loss of quality, giving you full command over how warm or cool, how saturated, how electric the final image looks. Many neon photographers deliberately push the white balance to emphasise the colour rather than neutralise it, leaning into the artificial glow instead of taming it. The brands that build their identities around neon understand this instinctively — the electric palette of a boldly-styled online brand such as Dudespin, with its saturated signage-inspired look, is designed precisely to pop against darkness, and it is exactly that fearless use of colour a neon photographer wants to preserve rather than "correct" into grey. The lesson for your own images is the same: decide what the colour should feel like, and set white balance to serve that feeling, not to average it away.
Reflections, rain and the scenes neon loves
Once you can expose and colour a neon scene properly, the next leap is compositional, and it comes from a simple truth: neon rarely looks its best in isolation. Its glow interacts with the world around it, and the best neon photography uses that interaction. Wet surfaces are a neon photographer's closest ally — a rain-slicked street or pavement turns a single sign into a shimmering pool of colour, doubling the light and adding depth and atmosphere that a dry scene never has. Photographers actively hope for rain, or wait for it, because reflected neon is often more striking than the sign itself.
Glass, puddles, car roofs, even a subject's eyes can all catch and throw neon colour, and composing to include those reflections is what separates a snapshot of a sign from a photograph of a mood. The other compositional tool is contrast: neon lives against darkness, so using the surrounding black as negative space, isolating the glow, and letting the sign breathe against emptiness gives the light room to dominate. Reflections add richness; darkness adds drama; together they turn a glowing tube of gas into an image with atmosphere. This is the point at which neon photography stops being about capturing a sign and becomes about capturing a feeling — the particular electric loneliness of a lit-up night.
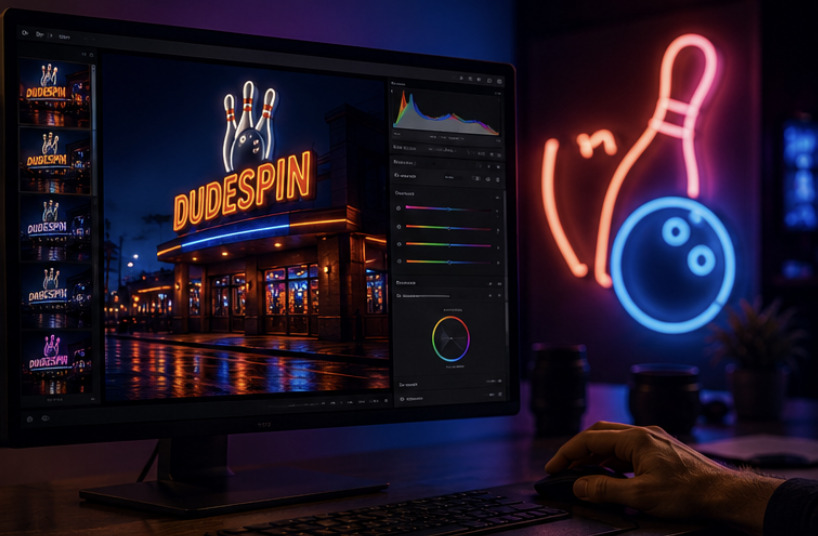
Capturing light as a subject
Neon photography is ultimately a lesson in inverting your instincts. Everything you learned about revealing a subject with light has to be turned around, because here the light is the subject, and the darkness is your canvas. Expose for the glow and protect the highlights; take command of white balance and lean into the colour rather than neutralising it; and compose with reflections and darkness so the light has something to play against. Do those three things and the blown-out blobs and washed colours that ruin most casual night shots simply stop happening.
What makes it so rewarding is that neon rewards intention more than almost any other subject. A camera on automatic will fail at it every time, which means every good neon photograph is the product of a photographer who understood the problem and overrode the machine. That is a satisfying kind of image to make — one where the result is unmistakably yours because the camera, left to itself, would have produced something else entirely. So next time you find yourself in front of glowing signage on a dark, ideally rain-wet night, remember that you are not photographing a sign. You are photographing light itself, and the darkness around it is not a problem to fix but the frame that makes the glow mean something.
Frequently asked questions
Why do my neon photos come out blown out and washed out? Because a camera's light meter averages the scene toward neutral, and a small bright sign against a large dark night reads as underexposed, so the camera brightens everything and blows out the neon. The fix is to deliberately underexpose — using negative exposure compensation or manual mode — to protect the glowing colour and detail.
What white balance should I use for neon photography? Avoid automatic white balance, which tries to neutralise neon's vivid colours toward grey. Shoot in RAW so you can set colour temperature afterward without quality loss, and lean into the electric hues rather than correcting them. Treat white balance as a creative choice that preserves the glow, not a technical correction.
What camera settings work best for shooting neon at night? Use a low ISO to keep the image clean, deliberately underexpose to protect the bright neon, and choose aperture and shutter speed to control sharpness and how much surrounding darkness registers. A narrower aperture can also turn point lights into starbursts. The goal is to render the light source beautifully, not to evenly light the whole scene.
How do I make neon photos look more atmospheric? Use reflections and darkness. Wet, rain-slicked surfaces double the neon into shimmering pools of colour and add depth, so shoot after rain when you can. Compose with the surrounding darkness as negative space to isolate and emphasise the glow. Reflections add richness; darkness adds drama.